1. Integration of Spring Boot with Apache Camel & Camunda
1.1 Spring Initializr:
Spring Boot has really made developers' lives easier. Spring Boot's starters and auto-configurators reduce a lot of burden on developers. Another nice integration framework is Apache Camel, which provided abstraction over different technologies. In this article, we'll learn how to integrate Spring Boot and Apache Camel.
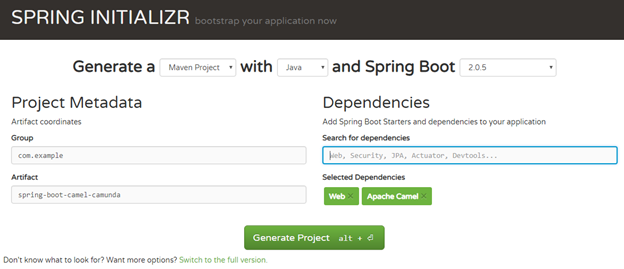
Spring Boot projects can be created in two ways. One is through Spring Boot Intitializr (https://start.spring.io/) (which we are doing here) and the other is through the STS Plugin for Eclipse.
After the ZIP downloads, extract the ZIP file and fire up Eclipse import as a Maven project. When the import process completes, Spring starters will help Maven download all the required dependencies for Camel.
1.2. Add additional maven Dependencies for Camunda:
In your pom.xml add below dependencies.
 <repositories>
  <repository>
   <id>camunda-bpm-nexus</id>
   <name>camunda-bpm-nexus</name>
   <url>https://app.camunda.com/nexus/content/groups/public</url>
  </repository>
 </repositories>
 <dependency>
  <groupId>org.camunda.bpm.springboot</groupId>
  <artifactId>camunda-bpm-spring-boot-starter</artifactId>
  <version>3.0.0</version>
 </dependency>
 <dependency>
  <groupId>org.apache.camel</groupId>
  <artifactId>camel-spring</artifactId>
  <version>2.22.1</version>
 </dependency>

 <dependency>
  <groupId>org.camunda.bpm.extension.camel</groupId>
  <artifactId>camunda-bpm-camel-spring</artifactId>
  <version>0.5</version>
 </dependency>
 <dependency>
  <groupId>com.h2database</groupId>
  <artifactId>h2</artifactId>
 </dependency>
1.3 Integrating Apache Camel with Camunda using Spring Boot:
In your pom.xml add below dependencies.
Now, let's get our hands dirty.
Here, we're calling firstRoute and sending the body "Calling via Spring Boot Rest Controller" using ProducerTemplate.
The specialty of Camel starter and Camunda starter is that it'll auto-wire the Camel context and auto-detect all of the Camel routes in our application.
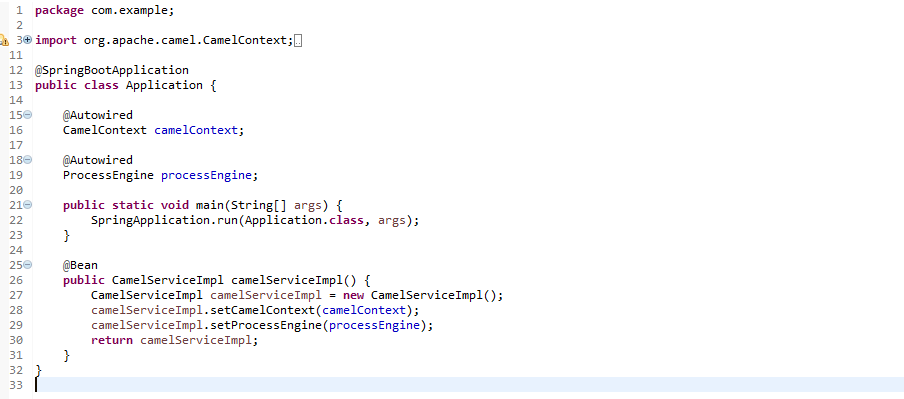
You already have a main method, which was created by Intializr. In that add CamelServiceImpl bean and set camel context & process engine as its property. Autowire them as well.
1.4 Create BPMN file:
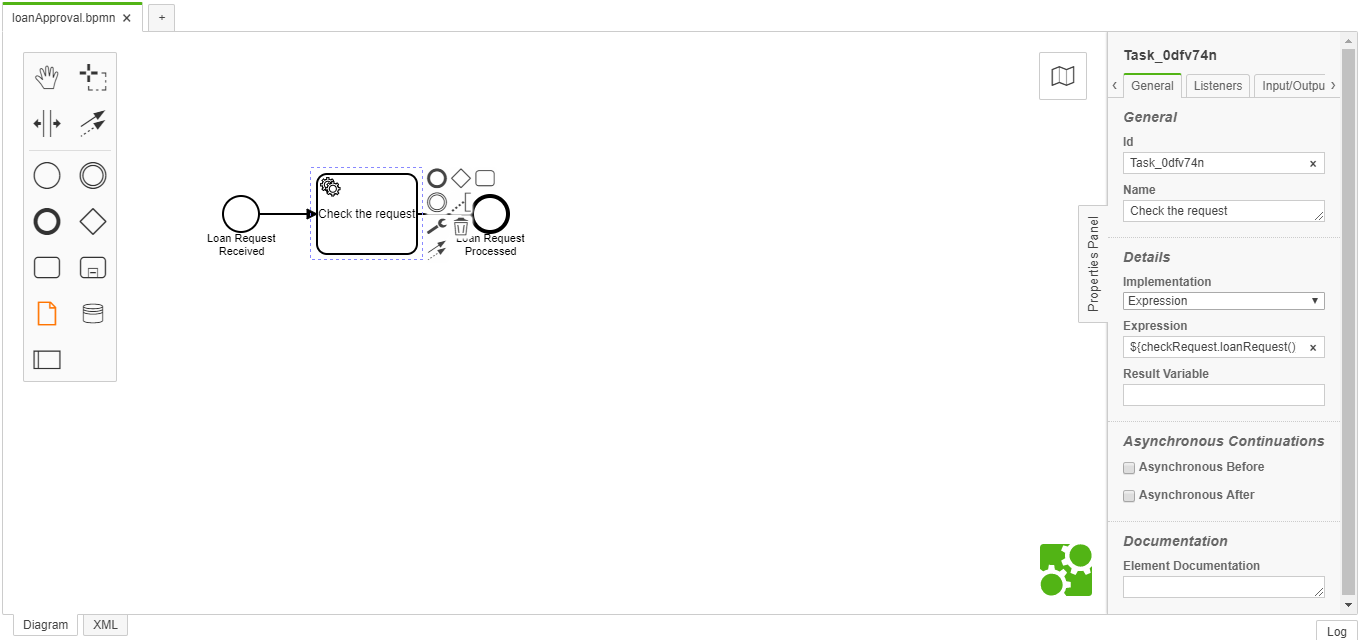
Using Camunda Moduler we can create one bpmn flow as below,
You can refer camunda website (https://camunda.com/products/) to create bpmn file.
1.5 Run our application:
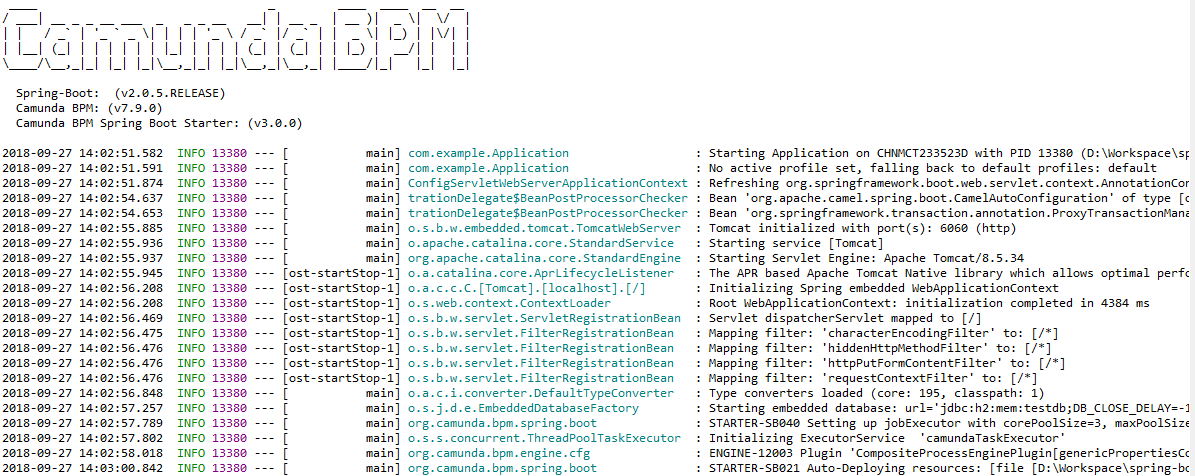
- We can see camel has started and one router is started.
- After that Camunda engine also started.
- Hit http://localhost:8080/camel in the browser, we able to see full output in the console as below,


No comments:
Post a Comment